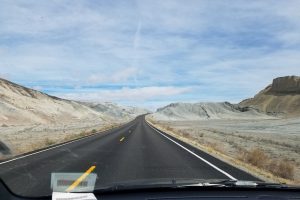
Arches National Park was the 4th stop on our hiking trip through Utah.
Contents
Entering Arches
Arches National Park is one of Utah’s top destinations and is full of short, easy walks to unique and amazing stone arches that tower overhead. We were excited to get in the park and see some of these famous sites for ourselves.
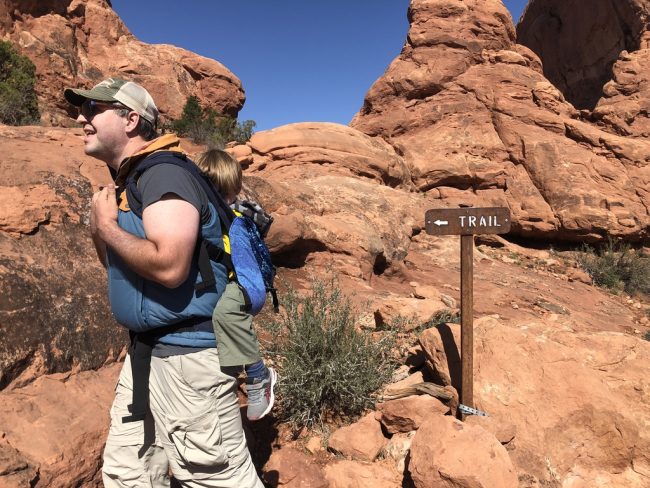
Let’s go!
Balanced Rock

Posing in front of Balanced Rock
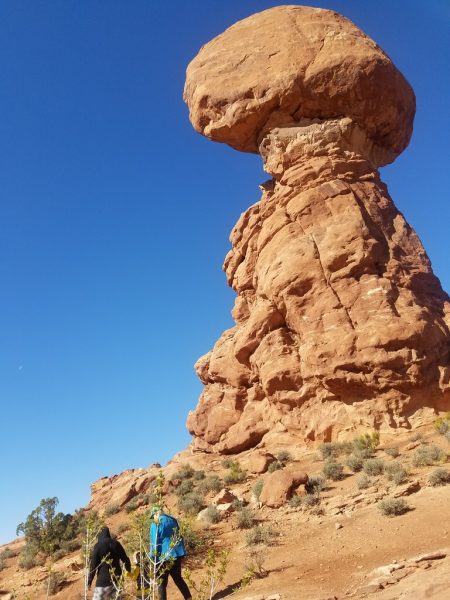
Balanced Rock is quite large up close
The Windows
Our next stop was a series of arches along the Windows Trail. We followed the trail from the parking lot that first took us to the Turret Arch. An amazing feature in itself, Turret Arch doesn’t get much love because of its proximity to the larger double window arches to the side. We were no exception, taking a cursory look at Turret Arch then skipping down the trail to check out the Windows.
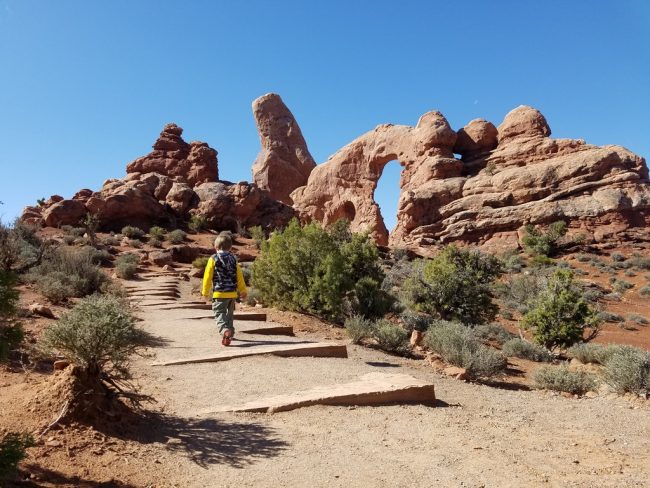
Approaching Turret Arch
As we got closer to the Windows, we saw some people hiking directly underneath them. We never came across a clear path to the base of the Windows. Instead, we followed the main trail and simply continued our way around the Windows to the back side of the feature.
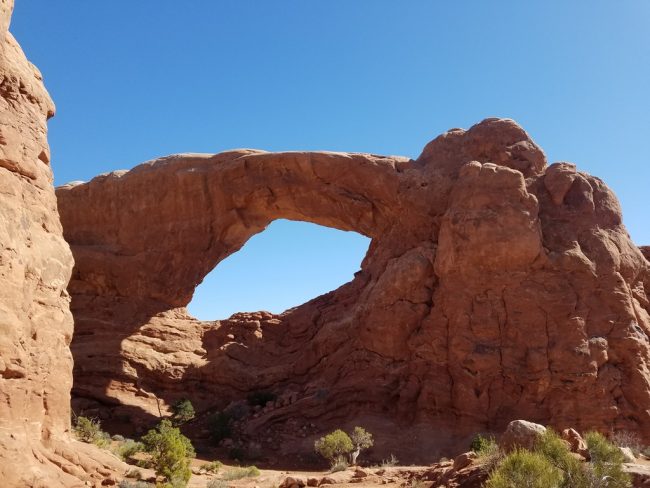
North Window, approaching the trail wrap-around the north side
Once on the hard rock the trail was no longer clearly marked, but the direction back to the car was obvious. This was the aptly named Primitive Path. We did see a couple of stone cairns that kept us going in the right direction and out of some potential dead ends. There were a few tricky steps down rocky slopes, but the full loop was only about a mile and mostly flat.
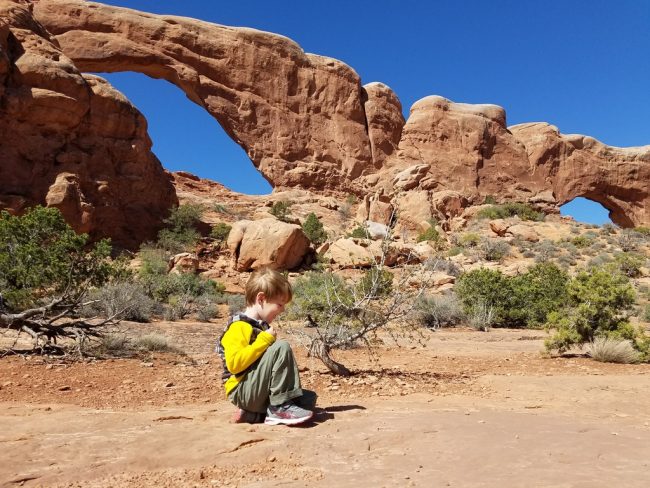
Back side of the Windows
As soon as we walked around the back side of the trail we left most of the crowd behind. There is a really nice view of the Windows from the back and a view of the Turret Arch through the South Window from this side if you scramble up to it (we didn’t).
Once back at the parking lot, the trail continues along the other side to the Parade of Elephants. From our angle along the trail we couldn’t quite see what the fuss was about, but from certain angles the rock formation does look pretty convincing.
Double Arch
Possibly the most impressive arch we saw in the park was the Double Arch. This arch is unique and immense. It was a short walk from parking to the base of the Double Arch with an improving view the closer we got.
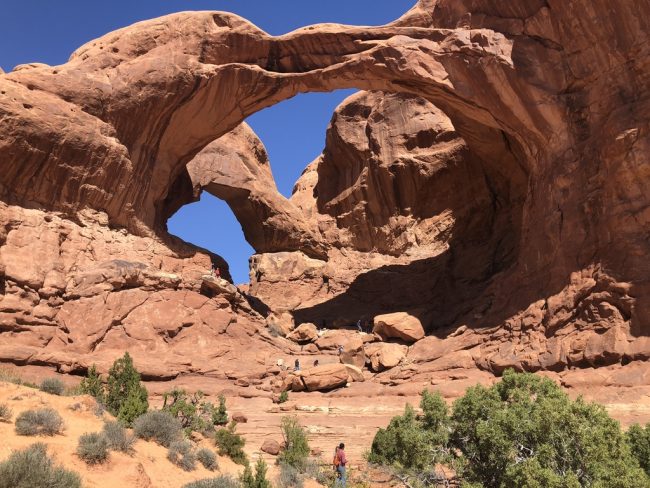
Approaching the Double Arch – see the ant-like people beneath it
Adventurous hikers can scramble up the rocks to enjoy the Double Arch from different angles. It was a lot of fun to get up close, but you definitely need to be careful with small children as the footing is rarely flat and stable once you begin to climb up the rock.
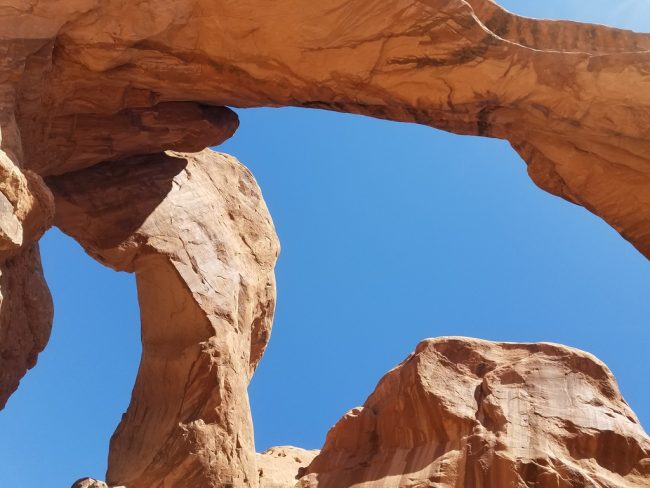
Under the Double Arch
Delicate Arch Viewpoint (not worth it!)
With time enough for one more small hike, we decided to venture to the Delicate Arch Viewpoint. We could have tried the Hike to Delicate Arch, which is just 3 miles, but there were a few things that kept us away. Delicate Arch is the most famous feature in the park so finding parking near the trailhead is all but impossible without making it a priority at the beginning of the day. We could have added 2 miles to the hike by leaving from the Delicate Arch Viewpoint parking lot but that seemed not very fun. Plus, after reading some comments about the slick rock incline and exposed portions of the trail, we decided just going to the Delicate Arch Viewpoint would be enough for the day.
The Delicate Arch Viewpoint parking lot is quite large, but the Lower Viewpoint is fairly close to the trailhead. We walked down the short path and were not impressed with the view from there. We could see the Delicate Arch, but it was quite far. The Upper Viewpoint was only a half mile hike more so we decided to continue on for a better view.
At this point the boys were wiped, so we carried them up the steady incline to the viewpoint. We were expecting a much better perspective of the Delicate Arch but the view was only incrementally better than the one from the Lower Viewpoint.
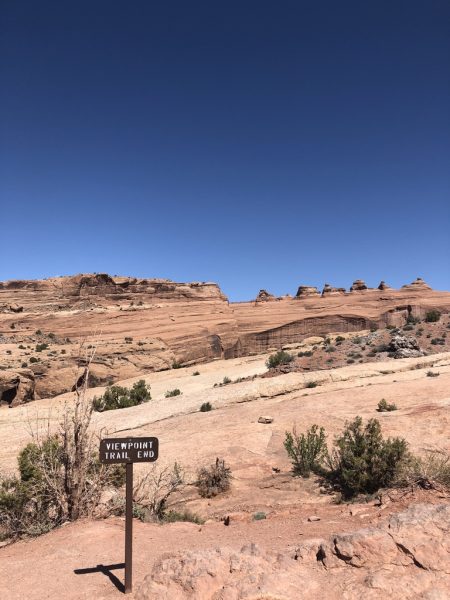
Upper Viewpoint of Delicate Arch (boo!)
Without zoom, the Delicate Arch was barely discernible, even from the Upper Viewpoint. With a little more planning and 2.5 miles more hiking, the direct trail to the Delicate Arch would have been a much better option. If the full hike isn’t possible for you but you really want to see the Delicate Arch, the Lower Viewpoint might be worth a stop but the Upper Viewpoint added very little. For us, this hike was something of a wasted effort, especially with so many better features right off the road.
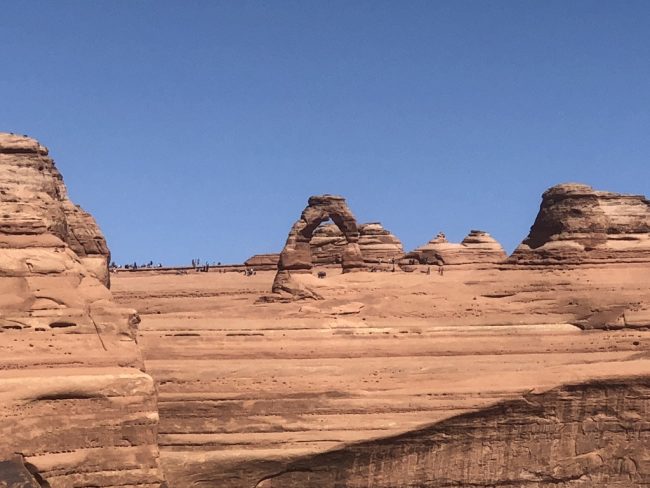
Obligatory super zoom of Delicate Arch. We wish those dots were us!
Park Avenue
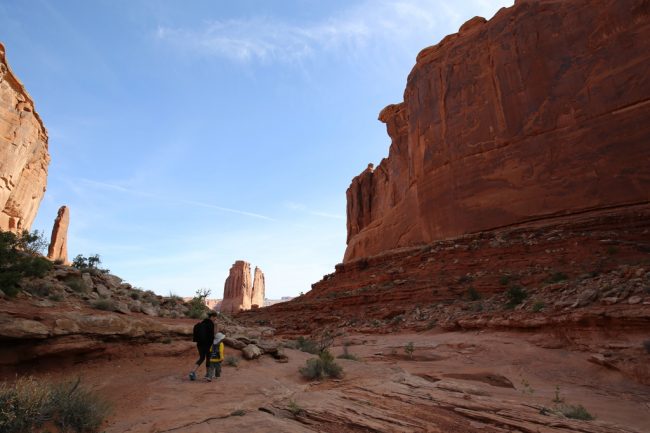
Along Park Avenue Trail
Unlike most of the hikes in the park, there wasn’t an arch in sight. Instead, there were several famous sandstone towers and monoliths along the way. With small children this trail was a nice and easy walk. And also unlike most of the park, the trail was shaded for most of the journey (depending on time of day/season).
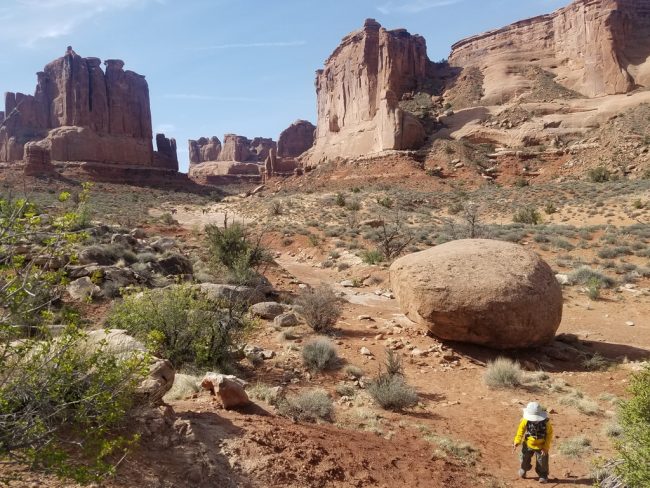
Near the end of Park Avenue
At the end of the trail, the wide slot canyon opens up into something like a dry riverbed, with a good number of the park’s non-arch features visible to you both near and far in multiple directions. Park Avenue may be one of the less obvious “must-see spots” in the park, but I recommend this short hike for showing off much of what Arches has beyond the arches.
Devil’s Garden to Broken Arch
After Park Avenue, we took a long drive up to the Devil’s Garden campground (trailhead at site #39) and walked along the trail first to Broken Arch. We intended to see the Tapestry Arch but somehow missed the spur trail and didn’t feel like backtracking.
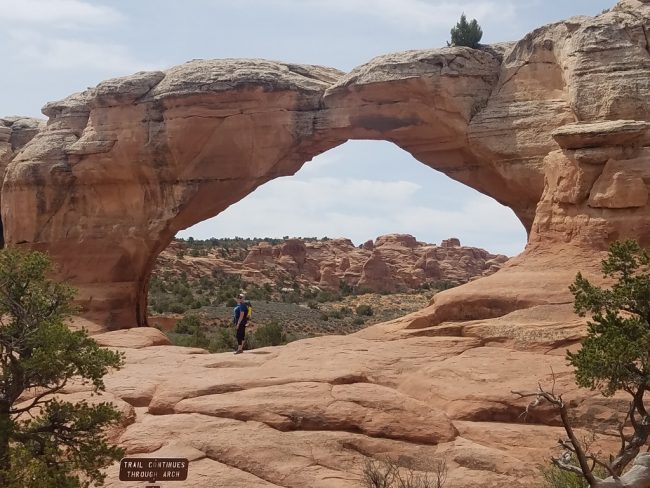
Approaching Broken Arch
Broken Arch was one of our favorite arches of the trip. As you can see from the sign in front of the arch, the trail actually goes through the arch! We also had the place mostly to ourselves. It wasn’t the largest arch by any means, but it was a fun stop along the way.
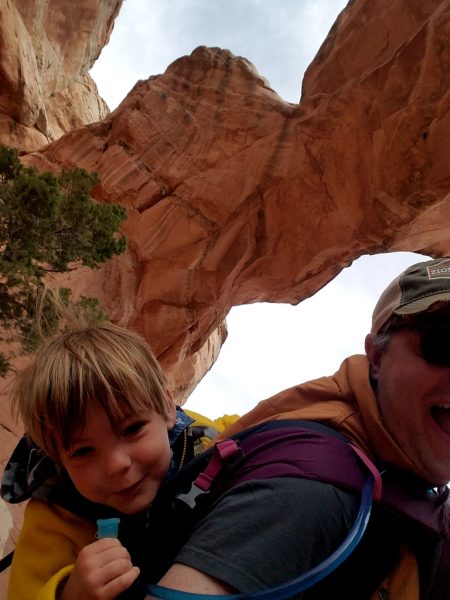
Hanging out under the Broken Arch
The arch claims to be broken, but the break is only a thin crack separating the two halves of the arch. We stopped on the far side of the arch for a snack before continuing down the trail to the Sand Dune Arch.
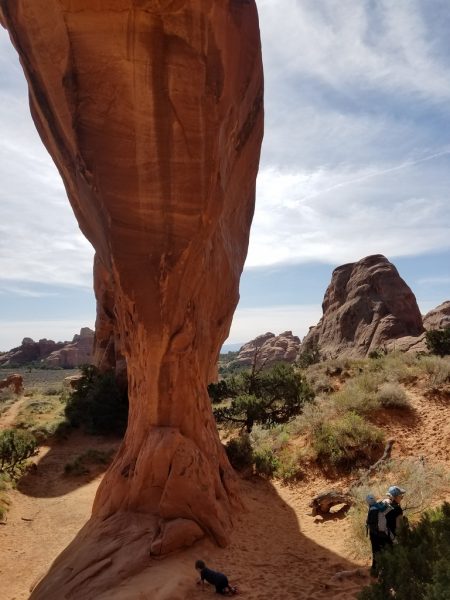
Playing in the sand under Broken Arch
Sand Dune Arch
We continued along the trail from Broken Arch to Sand Dune Arch. The trail was flat and mostly uneventful, but we did spot an interesting tower along the way that doesn’t seem to be a notable attraction. In most parks this tower would be a destination, but Arches has interesting rock formations to spare.
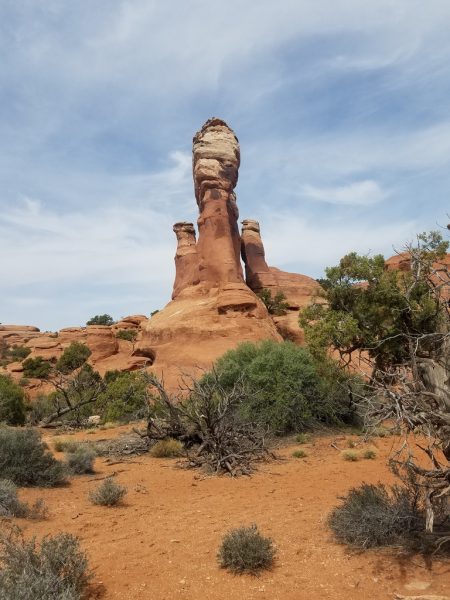
A random sandstone tower along the trail to the Sand Dune Arch
Just when we thought we’d seen enough arches for one trip, we came upon the Sand Dune Arch, a small arch that we found impressive mostly for it’s location, tucked inside a narrow slot canyon.
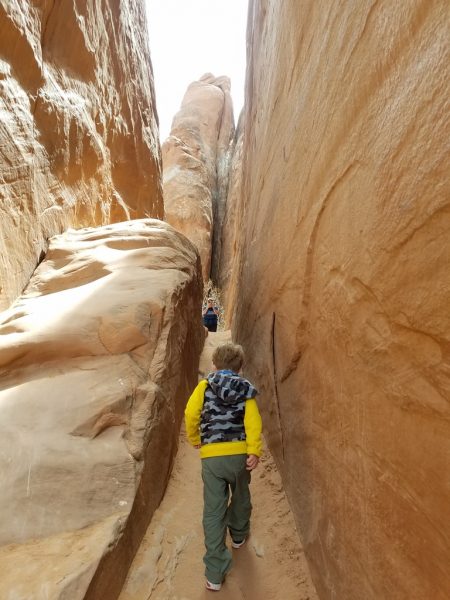
A narrow squeeze at the entrance to the Sand Dune Arch
Sand Dune Arch is actually just off the main road, but we had already driven past it on our way to the Broken Arch trailhead. With the nearby road access came crowds. The narrow, sandy main room of the slot canyon was never free of traffic while we were there.
Unfortunately, we didn’t actually take any photos of the arch itself as there were a few people climbing on top of the arch while we were there. Not only is climbing on arches illegal, it is extremely dangerous! We continued to the end of the slot canyon which only went 50 yards or so beyond the arch before petering out.
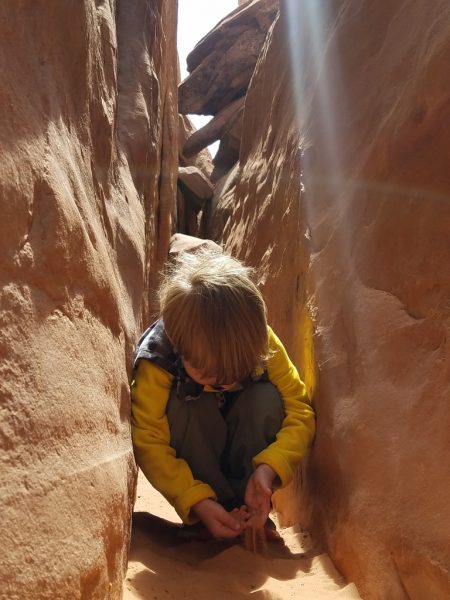
Playing in the sand at the end of the slot canyon
We returned along the Broken Arch loop to our car and drove the short distance over to the Devil’s Garden trailhead.
Devil’s Garden Loop Trail
Our final hike of Arches took us along a wayward portion of the Devil’s Garden Loop Trail. We knew the primitive trail portion of the hike might pose some difficulty with kids on our backs, but with seven arches visible along the hike we thought we would give it a try and see how far we could get.
Tunnel Arch
Soon after starting our hike, there was a short spur to view Tunnel Arch, a small hole of an arch with a lot of stone above it. It was unlike any arch we had seen so far.
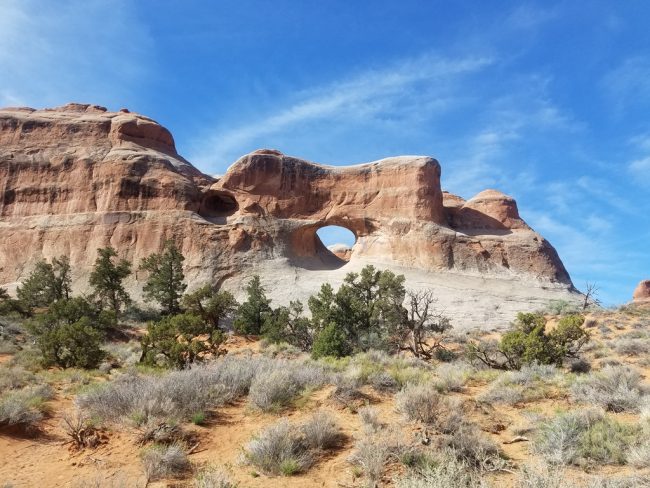
Tunnel Arch
The trail was quite crowded near Tunnel Arch and Pine Tree Arch, and this crowd continued along the trail up to Landscape Arch, where the fenced and well-kept trail ended.
Landscape Arch
The hike brought us to the longest and (for me) the most impressive arch of the park: Landscape Arch.
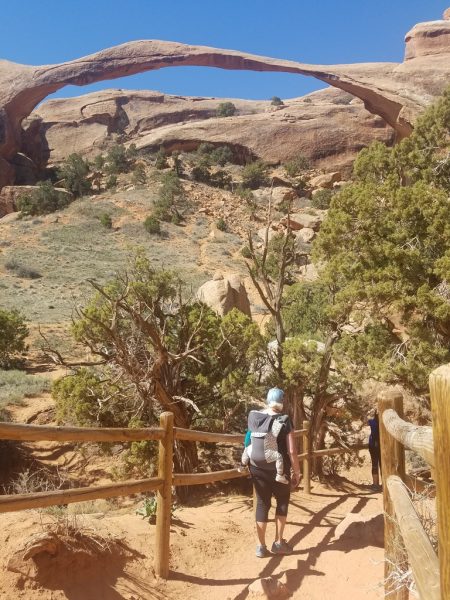
Closest spot to Landscape Arch
Due to some chunks of the arch falling in the past few years, you can no longer approach the arch any closer than a fenced off viewing location. Still, Landscape Arch is the largest arch in the world and looks impossibly long and thin. You should definitely visit this arch while you can – it may survive another 200 years or it could totally collapse tomorrow. It stands as a reminder of how rare and delicate these geological features truly are.
At this point, most people turn around but with lots of daylight left we wanted to go a bit further to see some more arches. We intended to go as far as Navajo and Partition Arches, but it wasn’t meant to be. The primitive trail quickly devolved into a long, bald-faced scramble up slick rock that we thought about before (smartly) deciding it was not feasible with small children.
Still, we wanted to hike a little bit more. We decided to walk down the back side of the loop to see what was there. About a mile into the loop we came upon this impressive view:
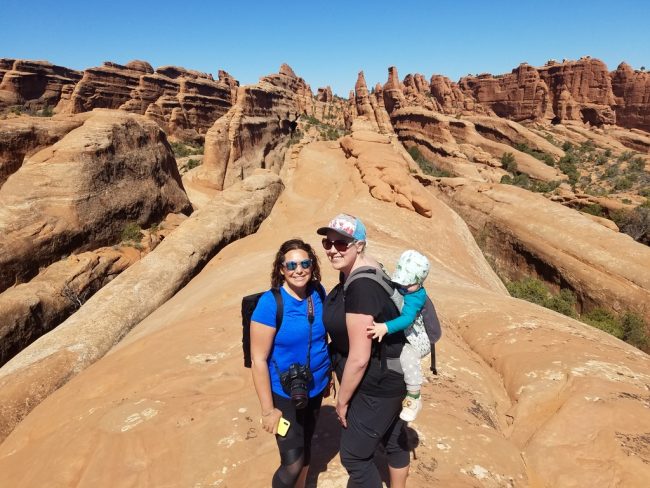
View along the primitive trail
This spot served as our endpoint of the hike and we doubled back along the trail to the car. There were several arches we missed and trails we wished we had taken, but after two days exploring Arches we decided to spend our last day checking out the Island in the Sky section of Canyonlands National Park (coming soon!).


